
 |
 |
||||||
|
|
|
|
|
|
|
|
|

Be sure to visit AutoLust.net and the AutoLust.net BLOG!
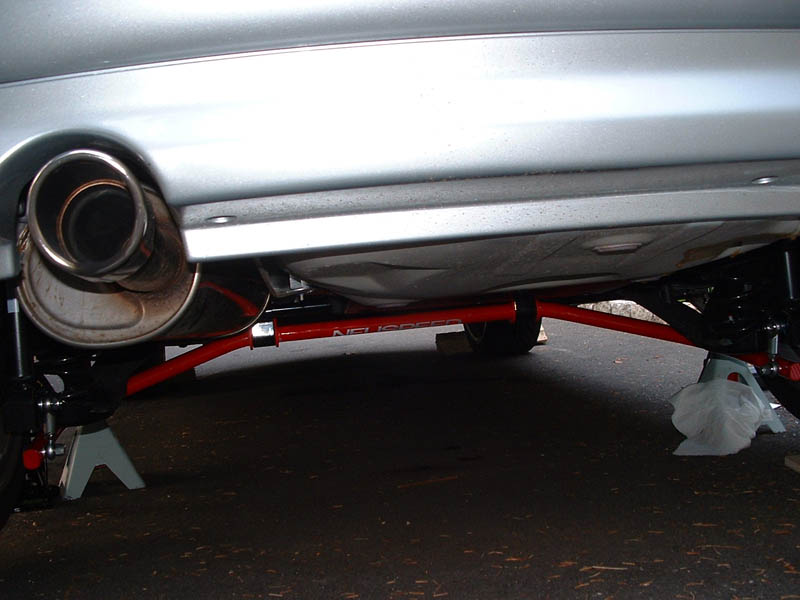
OK, here it finally is. I spent about 2 1/2 hours (with the help of my dad. Thanks, Dad!) installing a new Neuspeed 28mm Rear Sway Bar I got from http://www.parts4vws.com. I have to say that STOCK the 337 is a very solid handling car. More so than any other MKIV today. However, it still suffers from plenty of body roll through sharp turns. Besides installing a set of coilovers, I believe this is the best bang for the buck in making your VW a serious handling machine. It's scary how well the car now flies through corners. I can't recommend this piece enough.
STEP ONE:
STEP TWO:
STEP THREE:
STEP FOUR:
Free Shipping on Orders over $100
STEP FIVE:
Once the car is lifted, place one of the jack stands under a solid spot of the frame. It's hard to find a good spot (in my opinion). I placed mine under where a round, plastic piece was and put a piece of cardboard between it and the top of the jack stand. (Someone let me know if there is a better place to put the stand). Lower the car jack and let the car rest on the jack stand. At this point, remove the car jack once it is clear and replace it with your spare jack. Lift it so there is pressure on the underside of the car but not so much as to lift it off the jack stand. (Again, this is not a necessary step. I only did it to be extra cautious. I don't see how the jack stand could fail, but my middle name is Murphy's Law.)
Do the same on the other side of the car and make SURE the car is LEVEL once it is raised. You don't want your car leaning to one side or the other, or it could potentially slide off the jack stand. You don't really want that to happen.
STEP SIX:
STEP SEVEN:
STEP EIGHT:
STEP NINE:
STEP TEN:
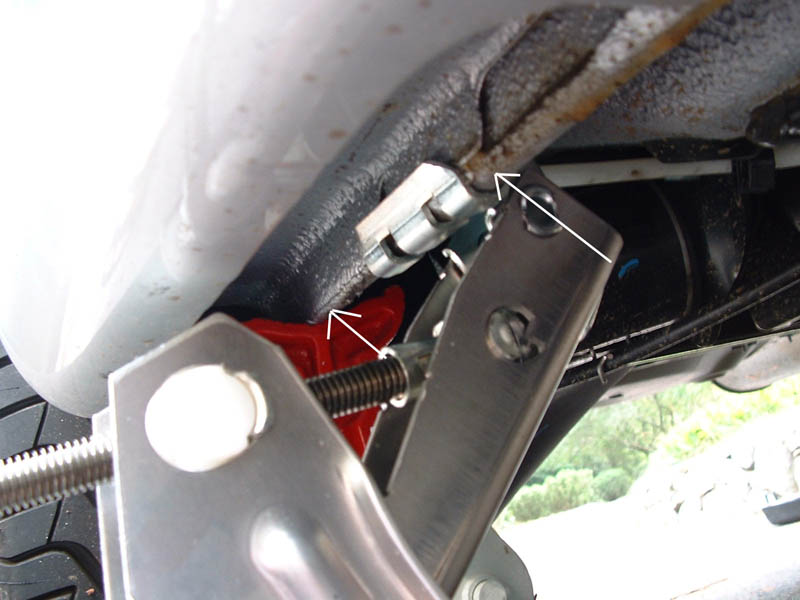
Here is where I ran into a problem. There is a small lip on both the brackets and the small retainer pieces that bolt to the bracket and hold the brackets securely into place. Guess what? The fit is VERY tight. This was the only real problem we encountered. You can place all the pressure you want with your hand, but the bolt hole will BARELY clear the edge of the axle beam.
Thus, it was nearly impossible to secure the brackets correctly with the retainer piece. My dad came up with the idea of using large adjustable clamps. Unfortunately, I didn't get a picture of this as our hands were full. Basically, you have to leverage something against the bracket to make it stay in place while you slide the bolt through the hole and lock it in place with the retainer. (See pic) Once you get the bolts nice and tight, you are halfway to suspension nirvana.
STEP ELEVEN:
STEP TWELVE:
STEP THIRTEEN:
Finish up your installation by raising the sway bar a putting the corresponding bolt through one of the holes. I put mine in the middle for "medium" stiffness.
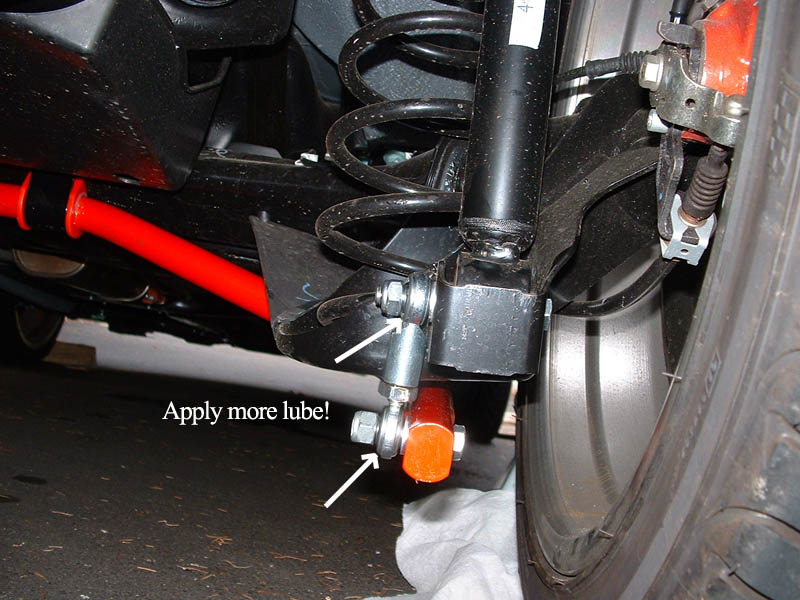
Once you tighten everything up, I suggest you put some more grease around the moveable sockets to prevent any corrosion. This will make life easier in the future for you and your sway bar.
STEP FOURTEEN:
I hope these added instructions and pics will help you with your rear sway bar installation. Enjoy!!
PS: Give the rest of your M&M's to whoever helped you out!!
You can purchase your sway bar here
Installing a Rear Sway Bar on a Golf IV/GTI/337/20th AE/Jetta
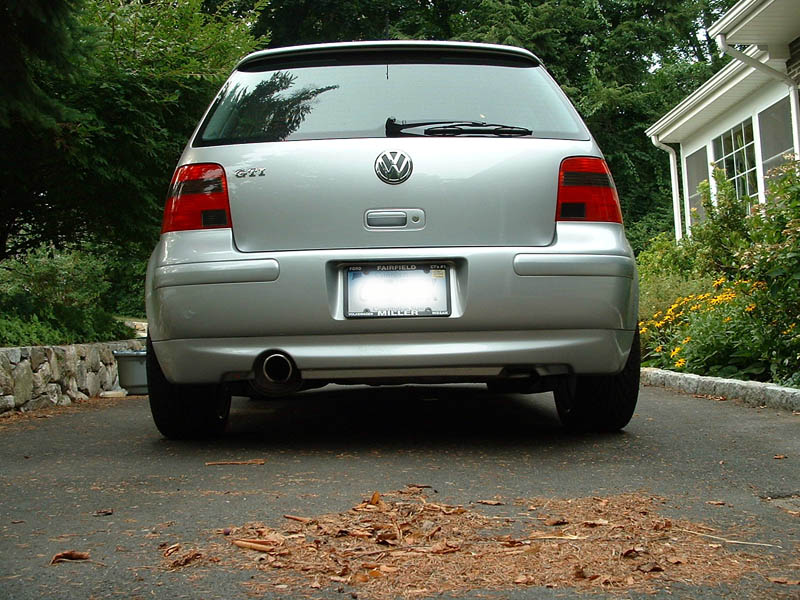
Admire your car from the rear
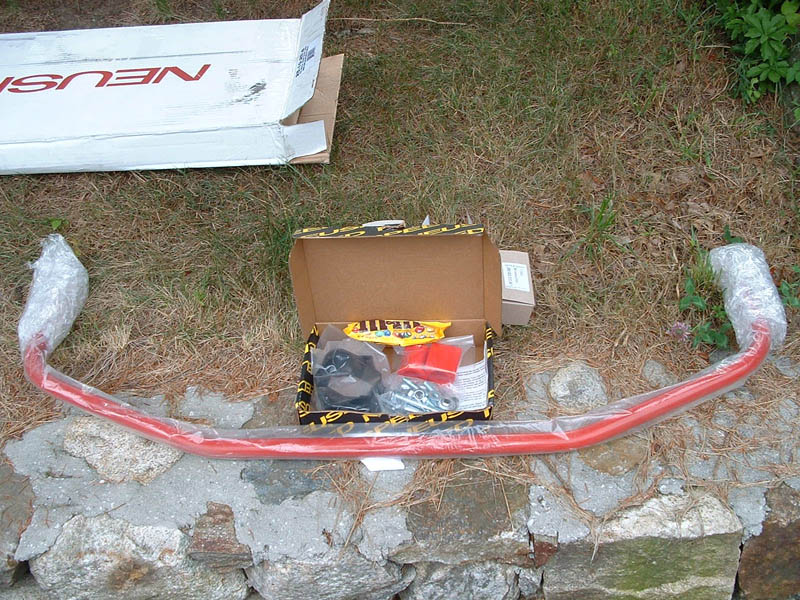
Remove all parts from the shipping box and lay them out in a clear area. Unwrap the bar, open the parts box and get the instructions out.
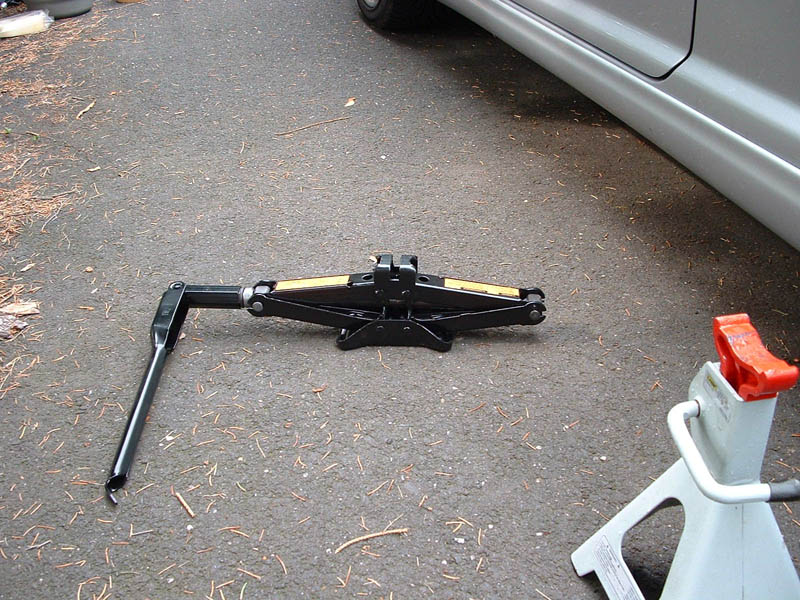
Jacks. Here is where you DO NOT FOOL AROUND. I went slightly overboard on the caution part of this install, but I recommend doing it. VW provides you with one lightweight aluminum jack with the 337. It's meant to lift up your car in case of a flat tire and that's about it. It is NOT meant to safely hold up your car while you work underneath it. In fact, the stock VW jack is a piece of shit. Buy yourself a nice 2- or 4-ton hydraulic jack. You will also need a pair of solid jack stands, and if you can, pull another car jack from someone else's car. (I borrowed one from my mom's Nissan. See pic.) I also suggest getting a small hydraulic jack for use later on.(See step 12)
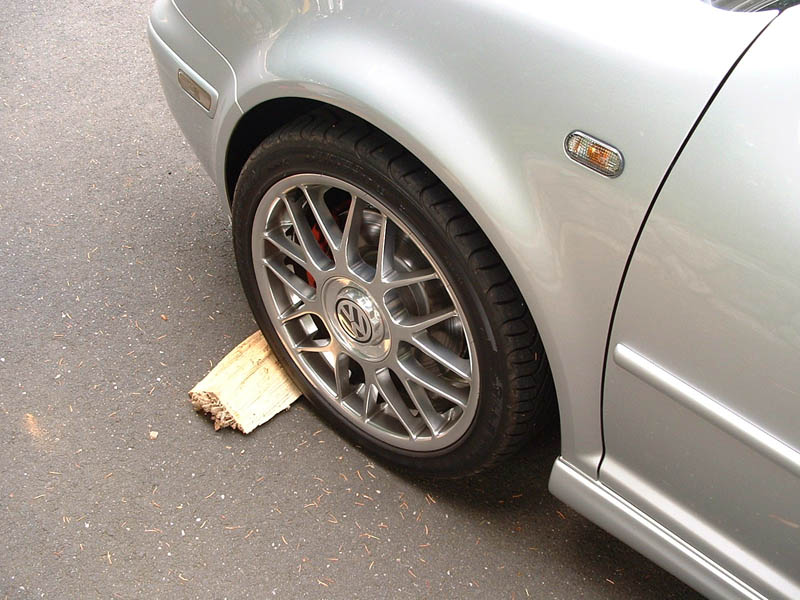
Before you jack up the car, chock(?) your front wheels. As you can see, I have some chopped wood, which is perfect since it has an angle and fits tight under the wheel. DO this to BOTH front wheels. Not one. BOTH.
Jack up one side of the car with the VW jack. Place it in the correct place, underneath the car close to the rear wheel well. Be careful and pay attention as the jack rises. You will have to raise it almost the entire way. Because of the side skirts, part of the jack will almost start to scratch the underside of the skirt. If it starts to rub, you may want to lower the car and re-position the jack and try again. I wouldn't worry about it as you'll never see a scratch there anyway.
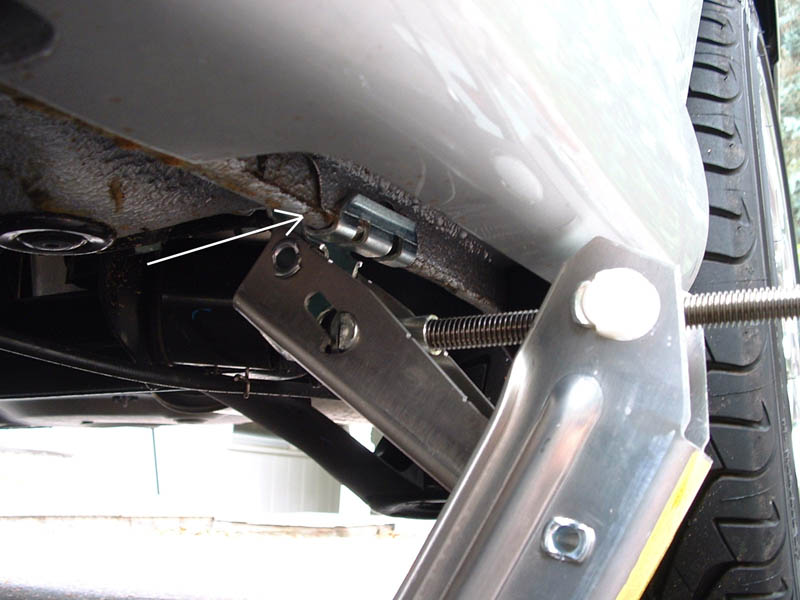
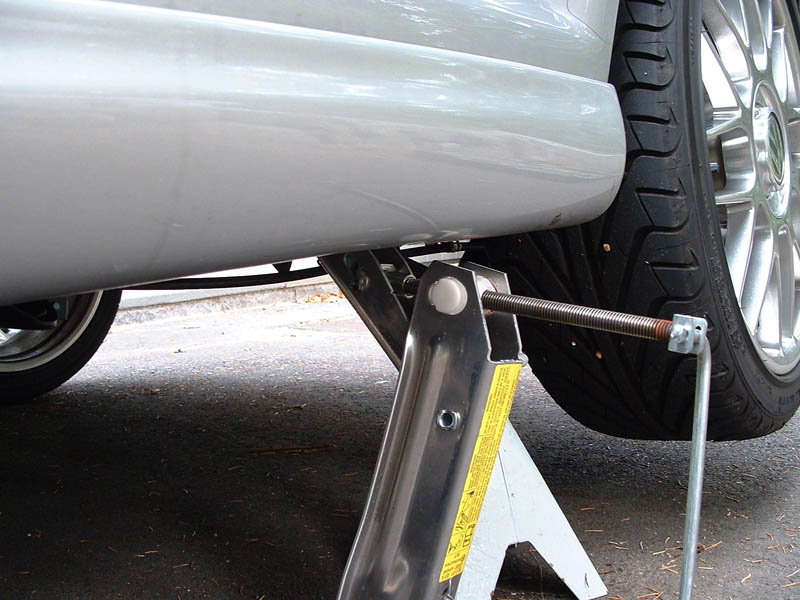
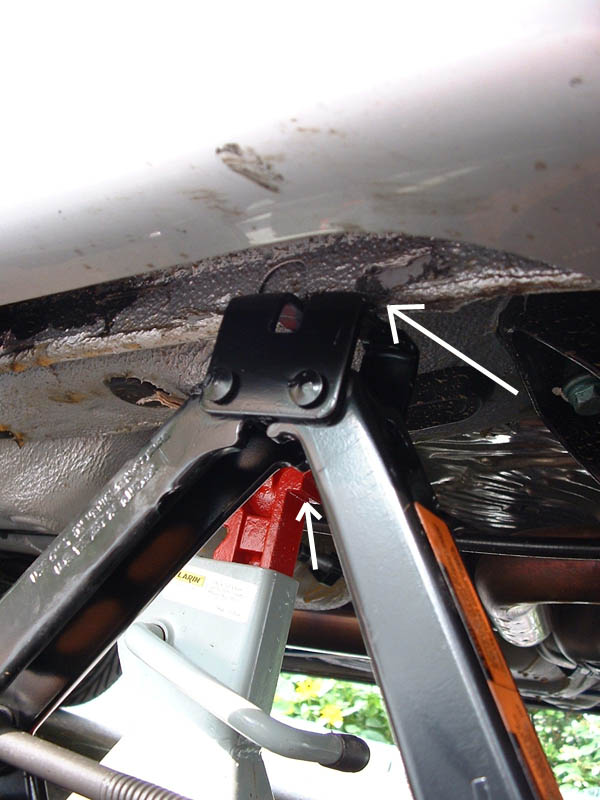
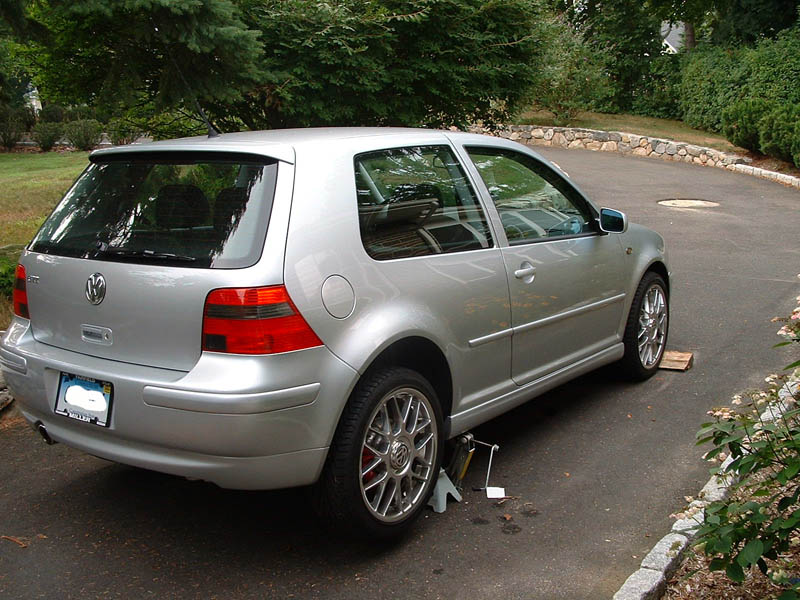
Afte the car is safely raised high off the ground, take a breather and eat 6 M&M's provided courtesy of Mike Potter at Parts4VWs.
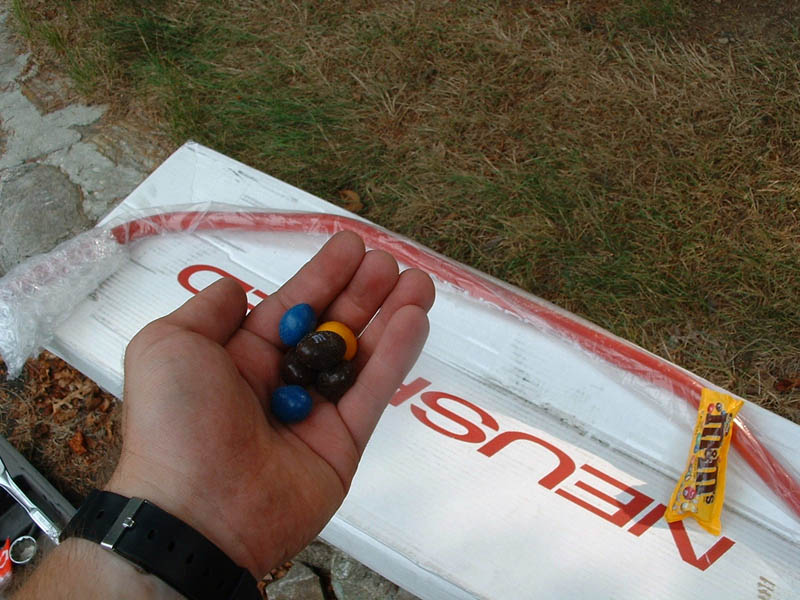
Remove the bushings from their package and use the provided Neuspeed lube to coat the insides of the bushings. Don't be stupid like me and use your finger. I suggest using a latex glove or some other method of applying this stuff. It does NOT like to come off. You'll have to wash your finger(s) many times before this gunk comes off. Blech!
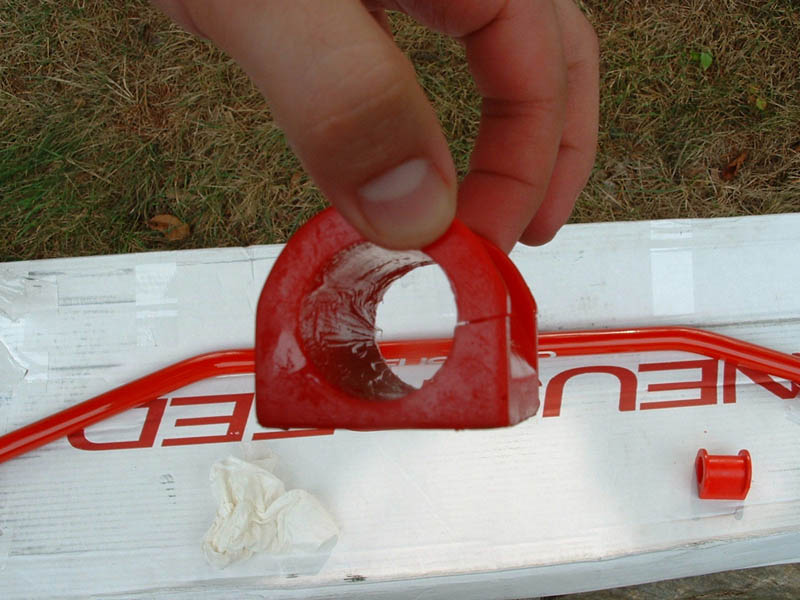
Open each bushing (they are sliced on one side) and place around the sway bar, on the middle straight piece near the bends.
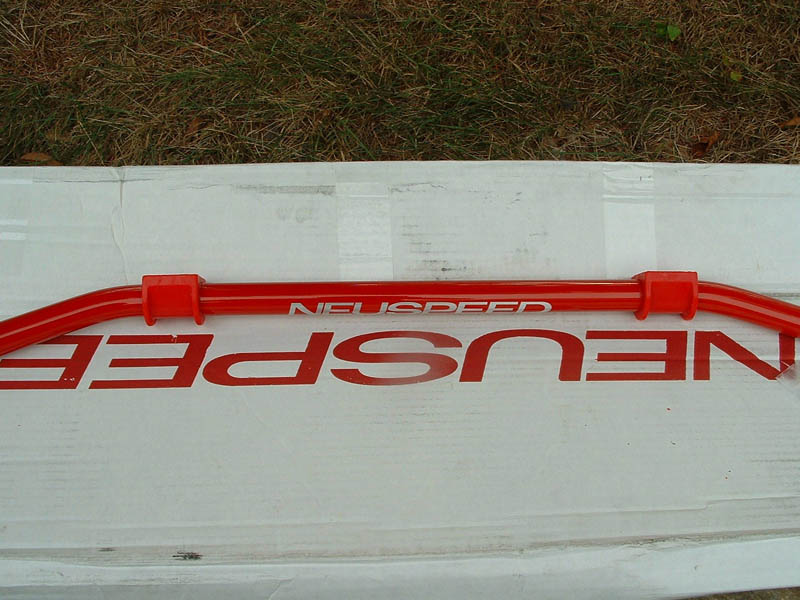
After that, familiarize yourself with how and which way the mouting brackets fit around the bushings. Your layout should look exactly like the picture below.
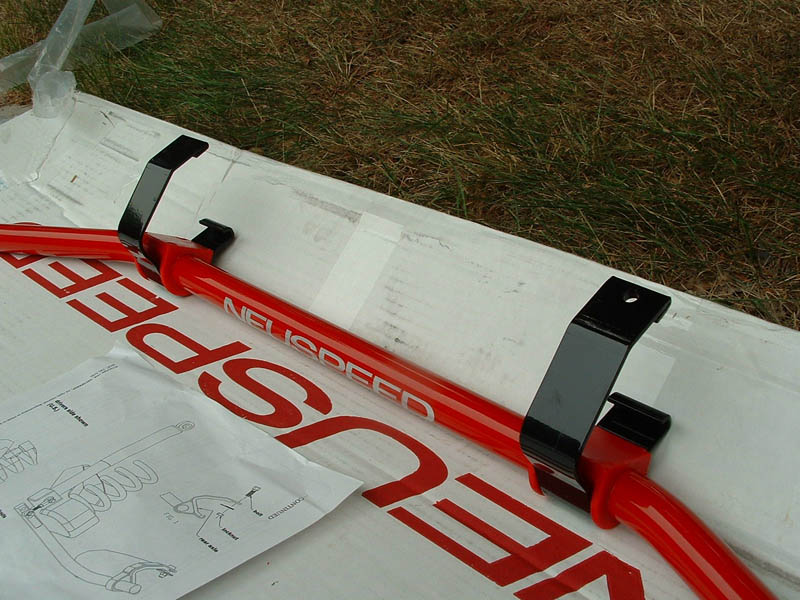
Unfortunately, this important pic came out blurry. Don't ask how. Anyway, slide yourself underneath the car and have your partner hand you the sway bar. The bar weighs ~20 lbs, so don't drop it on your chest or head. With the brackets in place, hook the bottom part of each bracket onto the bottom edge of the axle beam. Rotate each bracket forward so that the top hooks around the beam and snaps into place.
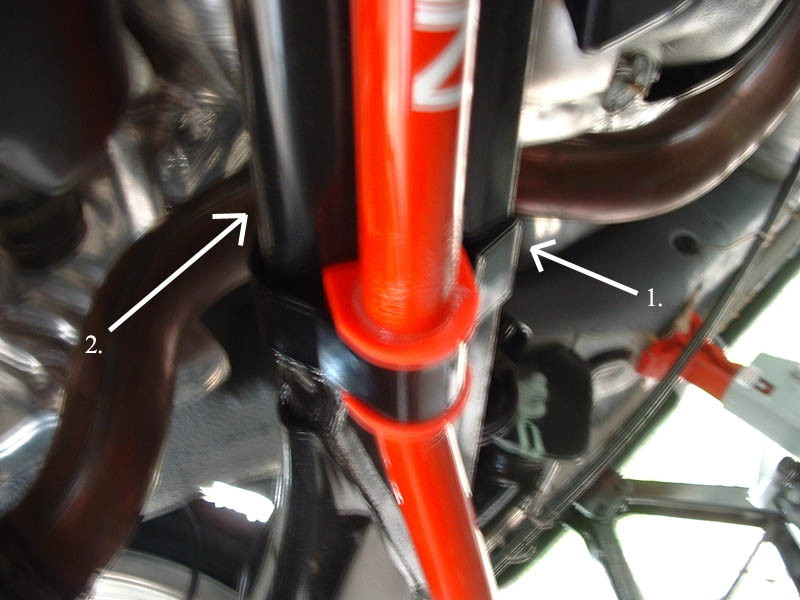
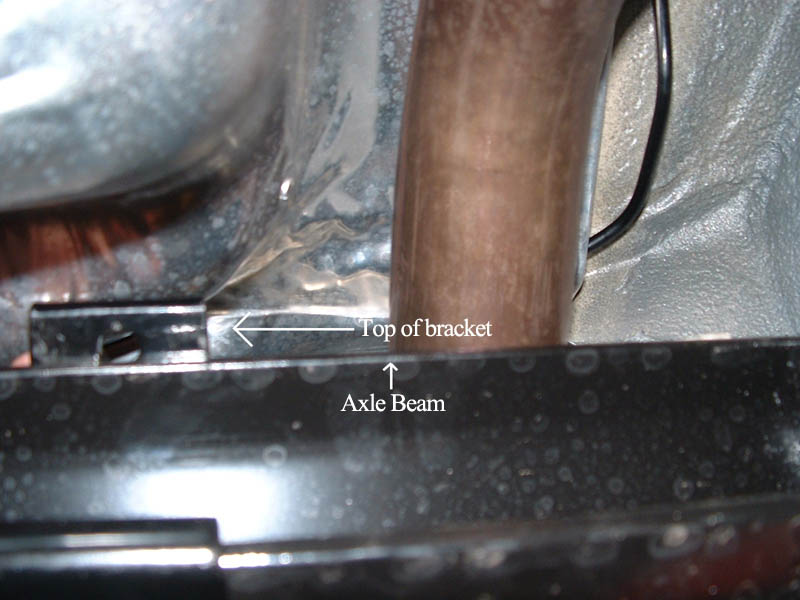
.jpg)
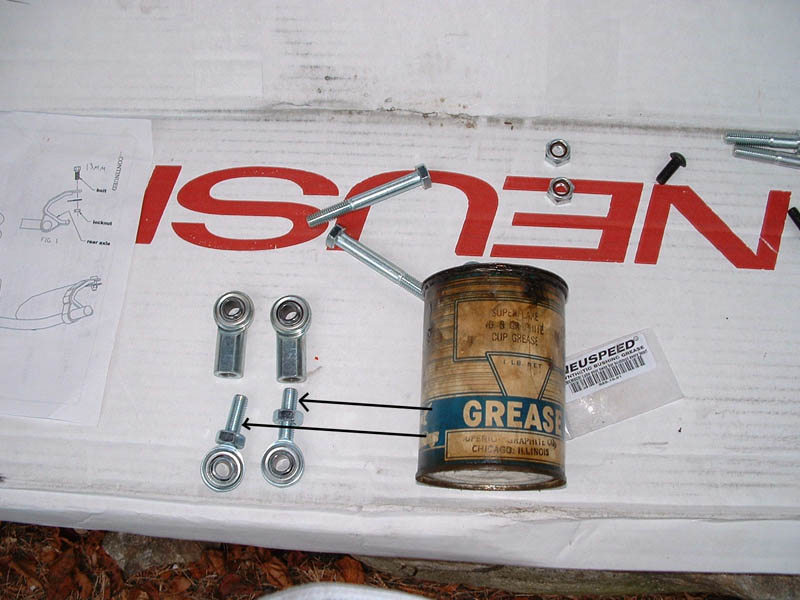
Lube up the parts! As per the instructions, get some good old fashioned grease. Coat the two adjustable bolts before connecting them to the female pieces. You want to do this to prevent corrosion so you will be able to adjust your sway bar in the future.
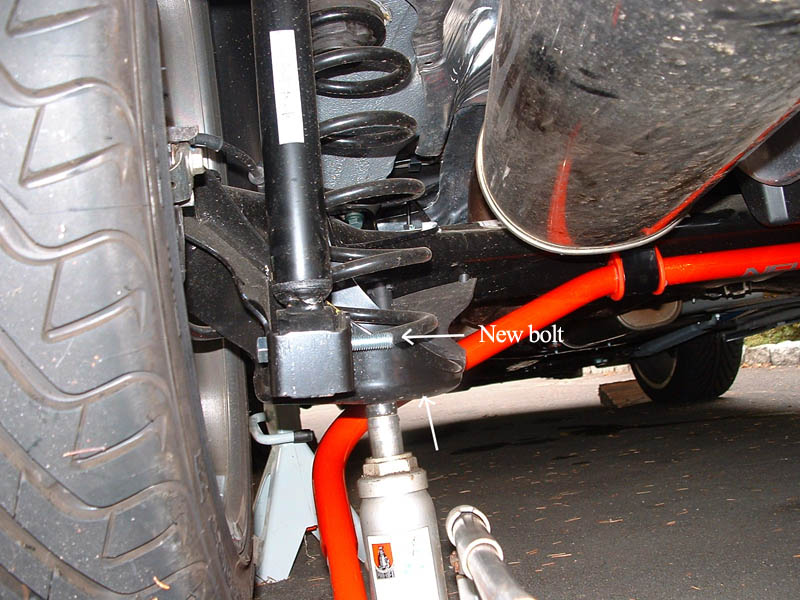
Take a small hydraulic jack and place it under one of the rear spring bases. You want to raise it just enough so that you take off the pressure the shock is putting on the lower retaining bolt. Remove that bolt and replace it with the longer one supplied with the sway bar. Continue to follow the instructions and attach the adjuster to the new bolt. Do the same on the other side.
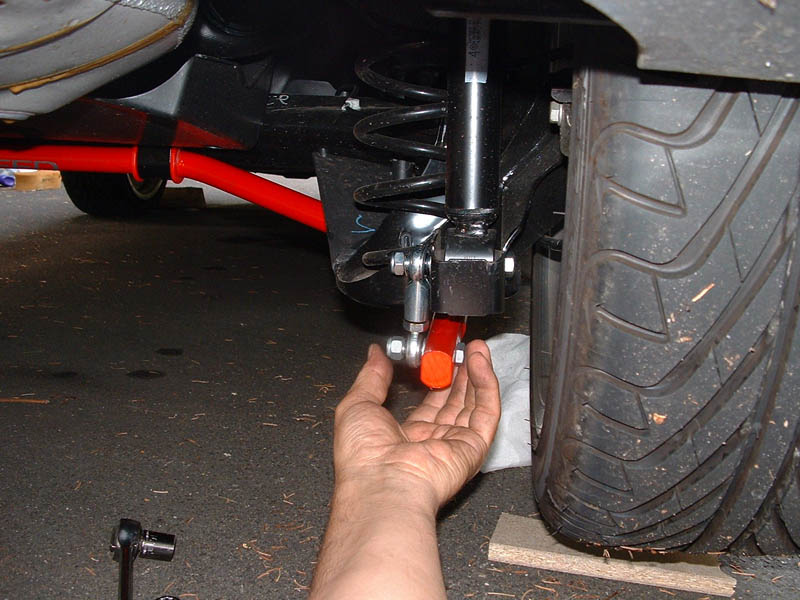
You are now ready to jack up your car, remove the jack stands and hop in your ride!! Head for the first set of curvy roads you know of and have fun. Of course, I do not condone excessive speeding or reckless driving, so, uh, obey your local traffic laws. But, trust me, that will be very difficult. You will see why the first time you hit a corner. Even overall steering will seem much more responsive. Your 337 is solid and ready for you to have even more fun with.
